Preparing the subject
This manual assumes that you have a prepared subject (person or animal) that has electrodes placed or embedded by suitable surgery, and attached to a connector that matches the connector on the logger that you have. Instructions for preparing the subject and for assembling a connectorized electrode assembly are outside the scope of this manual. Likewise, when working with animals, one normally must provide a housing that supports and protects the logger and its battery. In some cases, Deuteron provides protective housings, but in most cases, researchers must arrange protective and supportive housing appropriate for the animal, electrode assembly, logger, and battery that they choose to use. This manual assumes that such a protective housing is ready for use.
Installing the Software
Deuteron’s loggers communicate with a host computer by means of a transceiver such as the Deuteron’s STX4. Operating the transceiver requires a requires a host computer running Microsoft Windows™, with a screen resolution of at least 1280 x 768 pixels.
The only software that needs an installation process to performed on the host computer is the driver for the USB interface chip of the transceiver. This interface chip is the FT2232H made by FTDI.
In most cases, if your computer is connected to the internet and does not have special security software that prevents automatic installation of approved drivers, all you need to do is connect the transceiver to a USB port of your computer, and wait a few minutes for the driver to install itself.
To check whether you computer has successfully installed the device driver, follow these steps:
Open “Devices and Printers” or equivalent, window on your computer. On some computers this is one of the options visible when pressing the “Start button”. On others you may need to follow the path:
Control Panel\All Control Panel Items\Devices and Printers
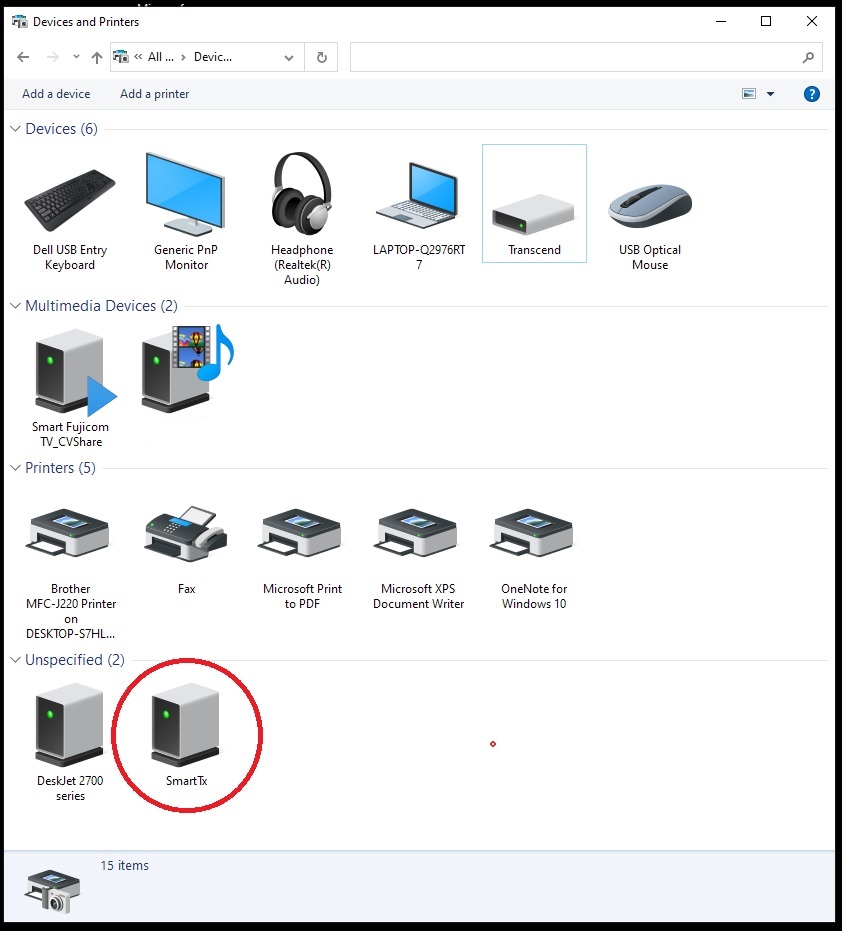
This window will show installed printers and other devices, and among them you should see the “SmartTx” device, which is the transceiver, under “Unspecified..” and would typically appear as shown here:
If the SmartTx icon does appear, select its “Properties” by clicking the right mouse button and select the “Hardware” tab. You should see the five “Device functions” similar to those shown in the picture below.
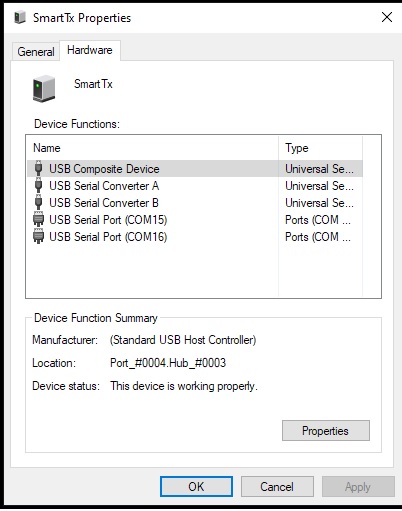
Select one of the two USB serial ports, and press “Properties”. You should now see that the manufacturer is “FTDI” as in the picture below:
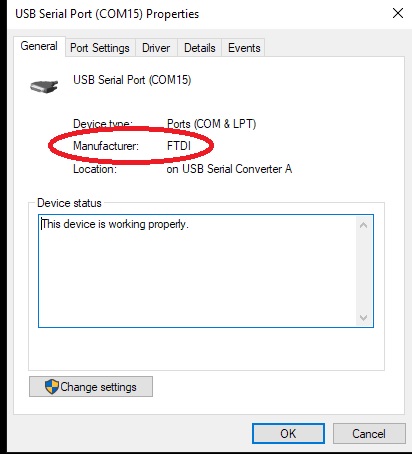
If you see the five device functions and that the manufacturer is FTDI, you can be sure that the right device driver is properly installed, and can skip the next section.
Installing the device driver if it is not installed automatically
If the driver needs to be manually installed, download it from this page: http://www.ftdichip.com/Drivers/D2XX.htm. It is recommended to select the “setup executable” At the time of writing, the link of this is on the right side of the table under “Comments”. This will download a ZIP file containing the executable file. Running the executable installs the required drivers. After the process completes, check that the device is properly installed as detailed in the previous section.
Installing the program for operating the logging system
The software for operating the logger system itself does not need an installation process. Rather, one needs to copy a small number of files to a folder on the host computer or on a folder on a computer network that is accessible from the computer to which the transceiver is connected. The following are the minimal files required to operate the logger.
| Deuteronlogger1.dll | This is the main function library for operating the hardware |
| LoggerCommand3.exe | This is the main program for operating the logger |
| Frequency.ini | This is a small text file that specifies the operating radio frequency of the logger. If it does not exist, it will be created automatically. |
Make a folder in a location of your choice and copy the above three files into that folder. You can also make a shortcut to the exe file. In order to check whether your system works properly, you should switch on your logger at this point. Clicking on the icon of the shortcut or the EXE file will start the LoggerCommand3 program.
When the LoggerCommand3 program starts, you will see a start screen that looks like this.
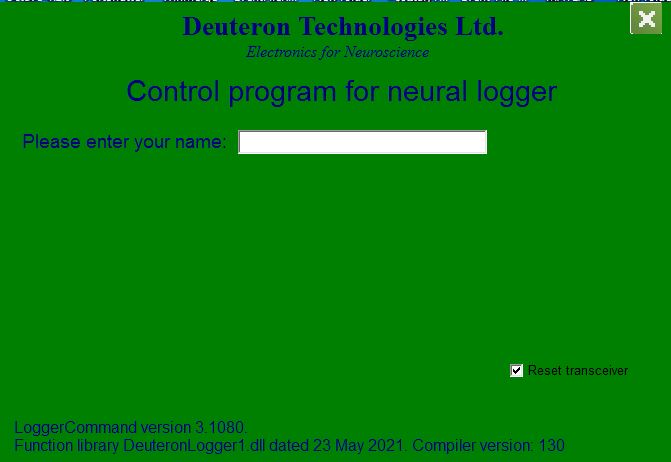
Enter your name, or at least three characters, and the large button “Connect to Logger” will appear. Press the “Connect to Logger” button.
Creating the “Frequency.ini” file if needed
If you did not have a file called “Frequency.ini”, it will now be created. In that case you will see this:

Press “OK” and you will then see this:
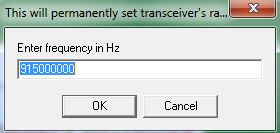
Enter the radio frequency of the logger. The default frequency in North America and Asia is 917000000 (Hz). In Europe it is 868250000 (Hz). If you are unsure of the correct frequency, please contact Deuteron. If you enter the wrong frequency, or press OK with the frequency 915000000 showing, you will not be able to communicate with your logger. The frequency 915MHz is not usually used with Deuteron loggers. If, at a future date, you need to select a different frequency, you can manually edit the “frequency.ini” file using any text editor such as “Notepad”.
After pressing the “Connect to logger”, the transceiver will attempt to make radio contact with loggers that are switched on, within radio range, and set to the selected radio frequency. If no loggers set to the appropriate frequency are detected, you will see this:
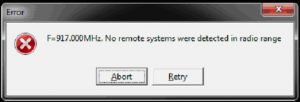
If you reach this point, it means that the program is properly set up, the device drivers are working and that the computer is communicating well with the transceiver. If no logger is switched on, switch it on, wait a few seconds, and press “Retry”.
If the transceiver and logger are communicating properly, you should see something like this:
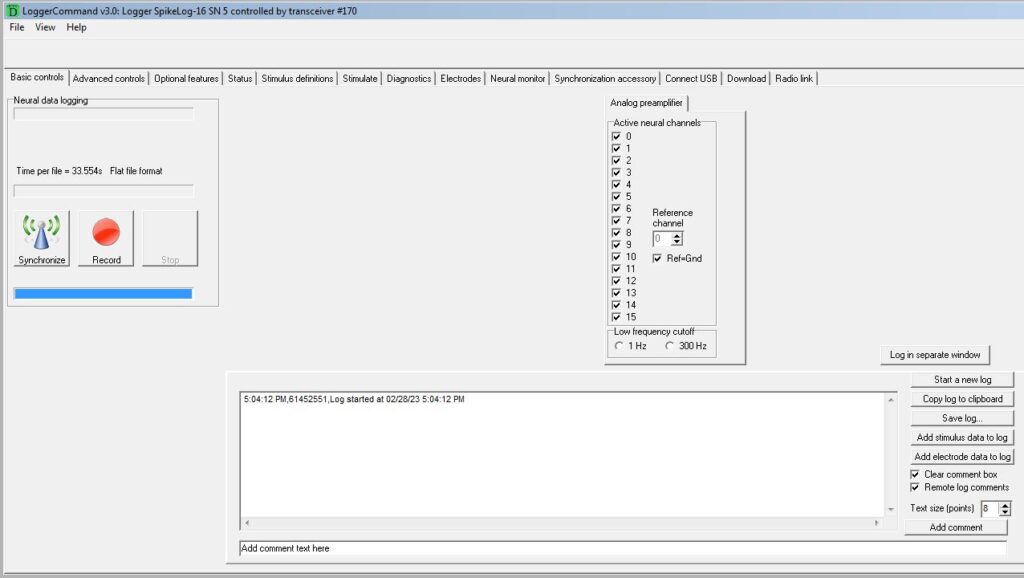
If you reach this point, it means that the PC is communicating properly with the transceiver and the logger, and that the system is fully set up and ready to use.